Gardening advice from a novice gardener:
1. Throw out the gardening gloves. Dirt feels good between your fingers. (Gardening gloves will definitely save a manicure but it's just not the same). There is something almost spiritual about getting down with the dirt and leaves and just digging. Toss the gloves out and dig in.
2. Take cuttings/bulbs/plants from family & friends. I'm not suggesting sneaking over in the night and stealing hostas from your neighbor. Offer up something that you have in abundance and see if you can make a trade. I have hostas, daffodils, lillies, lambs ear, autumn joy and much more that came from many other gardens. Mature plants can be quite pricey and I love looking around and remembering where some of my garden dwellers came from.
3. Use your imagination. Gardening is so much more fun if you get creative. Use something unconventional as a planter (My aunt has old work boots filled with Hens & Chicks and once planted an old bathtub. My dad has a fire hydrant). Use something old that you were considering throwing away - a rusted out bucket, a rickety old chair, etc. Make something yourself: stepping stones, mosaic decorations, bird baths.
4. Get out there early. My mom & I used to get a hot cup of coffee and walk thru the garden in the early morning. The smells, the sounds, the sights . . . they are different in the early morning light. That is one of the things I miss the most about my mom.
1. Throw out the gardening gloves. Dirt feels good between your fingers. (Gardening gloves will definitely save a manicure but it's just not the same). There is something almost spiritual about getting down with the dirt and leaves and just digging. Toss the gloves out and dig in.
2. Take cuttings/bulbs/plants from family & friends. I'm not suggesting sneaking over in the night and stealing hostas from your neighbor. Offer up something that you have in abundance and see if you can make a trade. I have hostas, daffodils, lillies, lambs ear, autumn joy and much more that came from many other gardens. Mature plants can be quite pricey and I love looking around and remembering where some of my garden dwellers came from.
3. Use your imagination. Gardening is so much more fun if you get creative. Use something unconventional as a planter (My aunt has old work boots filled with Hens & Chicks and once planted an old bathtub. My dad has a fire hydrant). Use something old that you were considering throwing away - a rusted out bucket, a rickety old chair, etc. Make something yourself: stepping stones, mosaic decorations, bird baths.
4. Get out there early. My mom & I used to get a hot cup of coffee and walk thru the garden in the early morning. The smells, the sounds, the sights . . . they are different in the early morning light. That is one of the things I miss the most about my mom.
Some pictures of my gardens this year . . .


Honeysuckle & clematis climbing up our arbor

The clematis loves this spot in my butterfly garden

Lola's favorite drinking hole . . .
 LOVE these giant hostas
 Bleeding hearts. My mom's favorite.

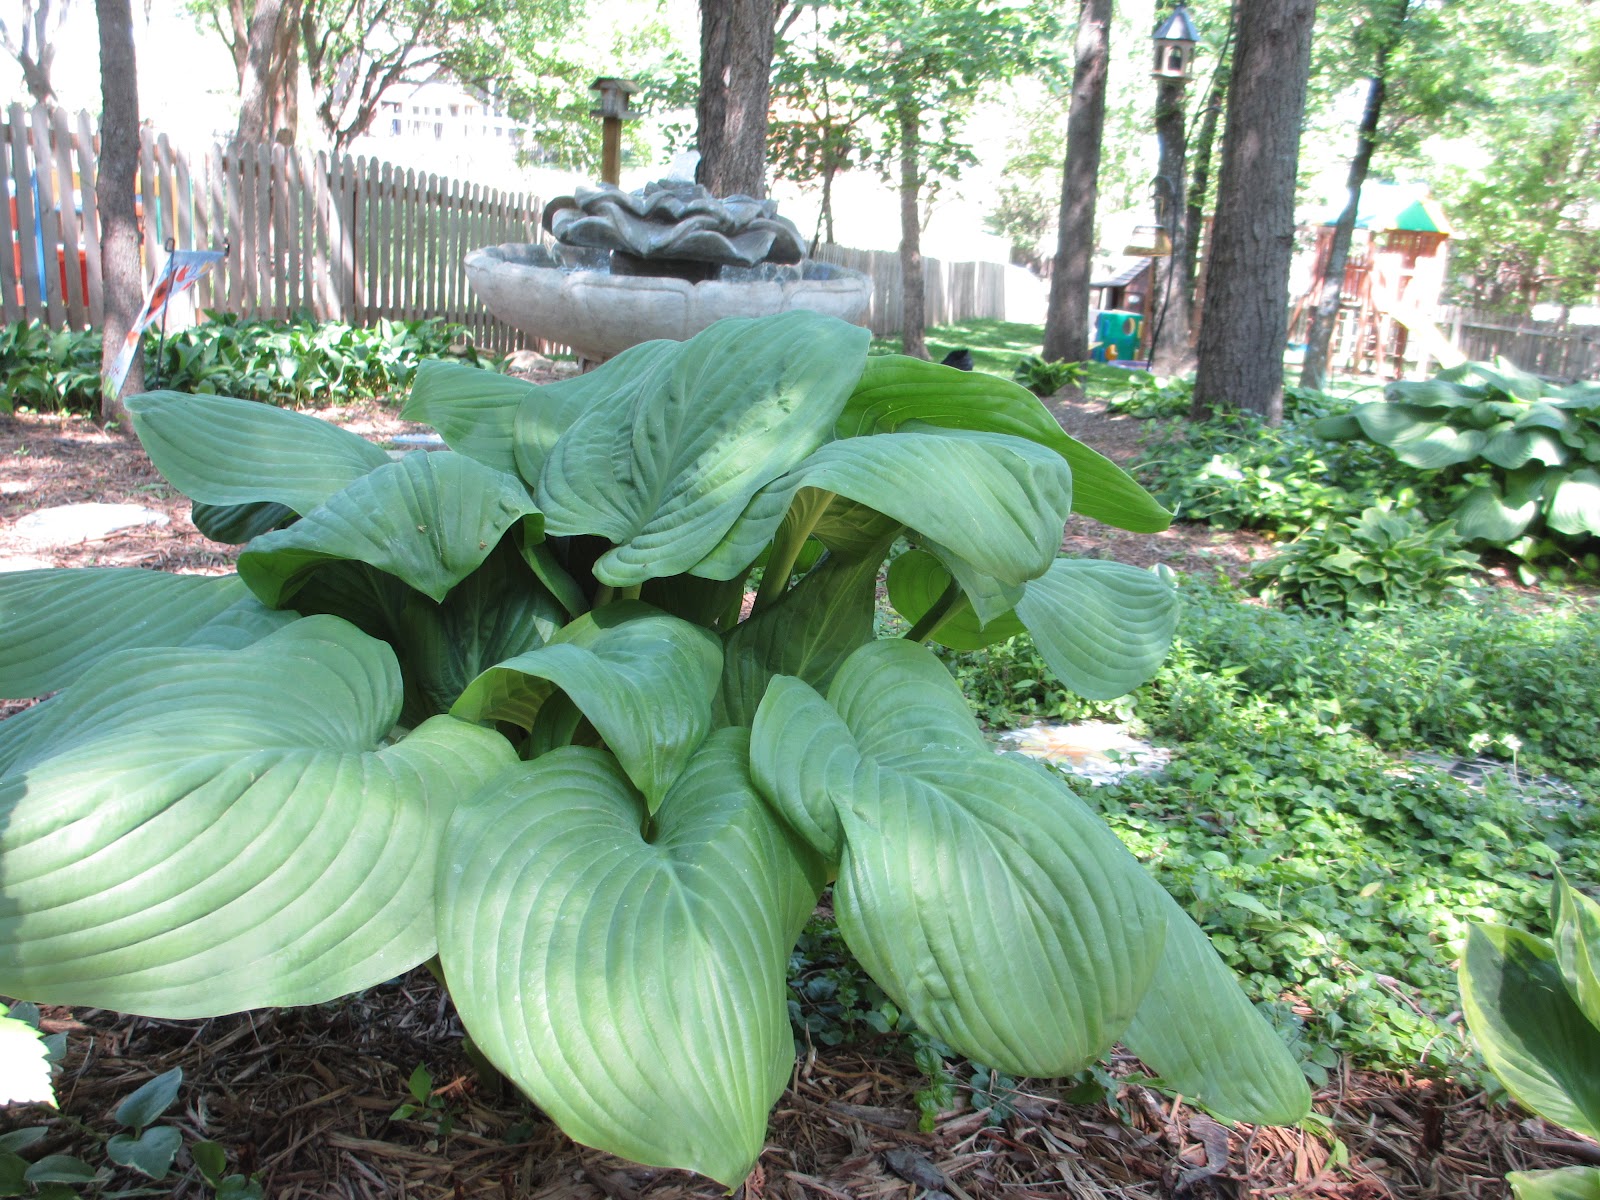


I am a very sentimental gardener. Most of my hostas came from my Aunt Gloria and Aunt Gilda, who got them from my mom's gardens over the years. I LOVE knowing that my mom's green thumb once tended to them. I try to use things in my garden that have personal meaning to me or that I have made by hand.

This fountain used to reside at the Graham home at Lake Tapawingo in the 1950's. My mom had it in her yard for many years. It had a ton of cracks and leak and was getting difficult to keep it running after all these years, so I decided to use it as a planter this year.

Erica & I made these cute little lady bugs.

This turtle shell is made from my Grandmother Hilgedick's wedding china.

Memory garden stone
 This statue came from my Grandfather Hilgedick's garden
 I made this gazing ball from a bowling ball that my friend Erica found at a flea market
 My garden stepping stones. My mom & I made most of them more than 10 years ago.
I have found so much serenity and healing in my garden. Just wanted to share my little corner of the earth. Also, I can always use a partner on my early summer morning walks 'round the garden. I promise you'll love every minute.


I have found so much serenity and healing in my garden. Just wanted to share my little corner of the earth. Also, I can always use a partner on my early summer morning walks 'round the garden. I promise you'll love every minute.